

How to Easily Install Hisense Portable Air Conditioner: Step-by-Step Guide
To install a Hisense Portable Air Conditioner, position the unit near a window and connect the exhaust hose. Then, plug in the unit and adjust the settings as desired.
Installing a portable air conditioner can provide a convenient and efficient way to cool your space during hot summer months. Hisense portable air conditioners offer a simple and straightforward installation process, allowing you to enjoy the comfort of cool air quickly and effortlessly.
We will guide you through the steps to install a Hisense portable air conditioner, ensuring that you can begin enjoying a comfortable indoor environment in no time. Whether you are setting up the unit in your bedroom, office, or living room, our step-by-step instructions will help you achieve a successful installation without any hassle. With the right tools and a little preparation, you’ll be able to enjoy the benefits of your new Hisense portable air conditioner in just a few easy steps.
Safety Precautions
To ensure a safe installation process for your Hisense Portable Air Conditioner, it is crucial to take proper safety precautions. First and foremost, carefully read the instruction manual to understand the correct installation steps. In addition, prepare a suitable area for installation, making sure it is well-ventilated and away from any obstructions.
Prior to starting the installation, remember to turn off the power supply to avoid any electrical mishaps. By following these guidelines, you can install your Hisense Portable Air Conditioner with ease and peace of mind. Stay safe and enjoy the cool comfort this appliance brings to your space.
Tools And Materials Needed
To install a Hisense portable air conditioner, it is important to have all the necessary tools and materials ready. Make sure you have a measuring tape, screwdriver, level, and adjustable wrench. These tools will help ensure a smooth installation process.
Additionally, gather the required materials such as brackets, screws, and the exhaust hose. These items are essential for properly securing the unit and ensuring it functions efficiently. Having all the necessary tools and materials beforehand is crucial as it saves time and avoids any potential delays or frustration.
By being prepared, you can proceed with confidence and successfully install your Hisense portable air conditioner.
Step 1: Choosing The Right Location
Choosing the right location for your Hisense Portable Air Conditioner is crucial for optimal cooling. Assess the room layout to determine the spot that will provide the best airflow. Consider avoiding obstructions such as furniture or curtains that may impede the air circulation.
Direct sunlight can also affect the cooling efficiency, so opt for a spot that is not exposed to intense sunlight. By carefully selecting the installation spot, you can ensure that your Hisense Portable Air Conditioner operates efficiently and effectively, providing you with a comfortable and refreshing indoor environment.
Credit: airsmartly.com
Step 2: Assembling The Exhaust Hose
To assemble the exhaust hose of the Hisense Portable Air Conditioner, you need to understand its components. Once you have identified the different parts, proceed to connect the hose to the air conditioner unit. Ensure a secure attachment by using the provided accessories to fasten the hose firmly in place.
With the exhaust hose properly assembled, you can now move on to the next step in the installation process. Following these guidelines will help you successfully install your Hisense Portable Air Conditioner without any hassle.
Step 3: Installing The Window Kit
To install the Hisense Portable Air Conditioner, follow these steps. Start with Step 3, which involves installing the window kit. The window kit components include a window bracket and sealant. Adjust the window bracket to ensure a secure fit. Fix it in place and seal any gaps to prevent air leakage.
Following these steps will help you properly install the Hisense Portable Air Conditioner for efficient cooling in your space.
Step 4: Mounting The Air Conditioner Unit
Mounting the air conditioner unit requires cautious lifting and positioning techniques to ensure safety. After attaching the unit to the window bracket or wall, it is crucial to verify stability and alignment for optimal functionality. By following these steps, you can successfully install your Hisense portable air conditioner and enjoy its cooling benefits.
Remember to handle the unit carefully during the mounting process to avoid any damage or accidents. Taking the time to secure the air conditioner properly will ensure its longevity and efficient operation. Proper alignment of the unit will ensure effective cooling throughout your space.
Take the necessary precautions and enjoy the convenience of your newly installed Hisense portable air conditioner.
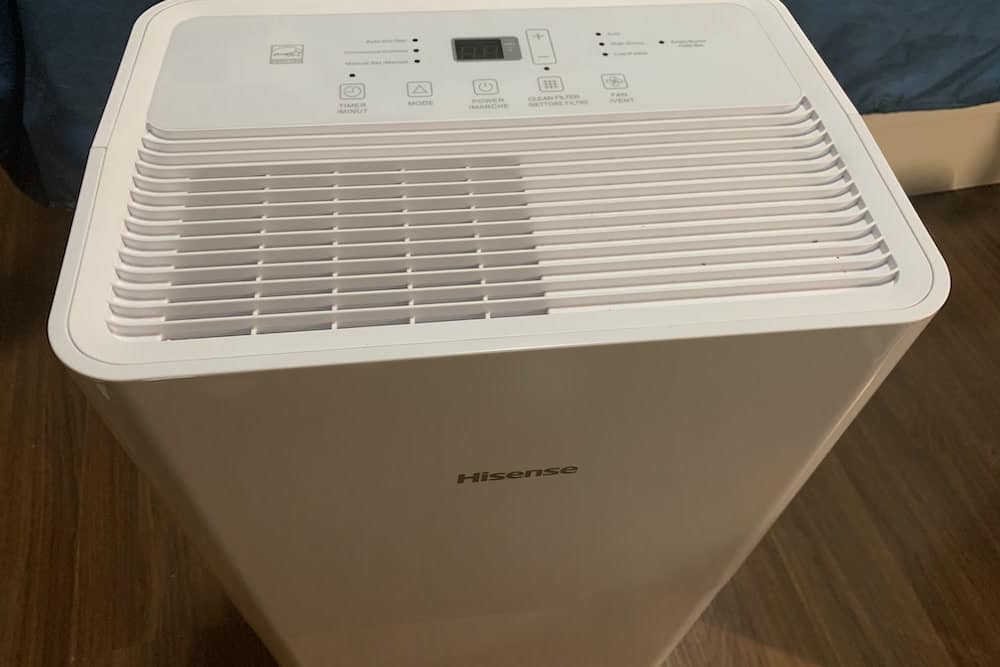
Step 5: Powering On And Testing
After plugging in the power cord of your Hisense Portable Air Conditioner, it’s time to power on and test the unit. With everything properly connected, turn on the air conditioner to check for functionality and airflow. Ensure that the unit is blowing cool air and that the airflow is strong.
Adjust the settings to your desired temperature and mode, whether it’s cooling, dehumidifying, or fan-only. Experiment with different settings to find the optimal comfort level for your space. Keep in mind that certain modes, such as sleep mode or eco mode, may help conserve energy.
Take the time to familiarize yourself with the controls and features of your Hisense Portable Air Conditioner, so you can easily make adjustments as needed. Enjoy the cool comfort that your air conditioner provides, and stay comfortable all summer long.
Cleaning And Maintenance Tips
Regularly cleaning the filters of your Hisense Portable Air Conditioner is crucial for optimal performance. Ensure they are free of dust and debris to maintain efficiency. If your air conditioner has a water tank, remove and clean it periodically to prevent any buildup or blockages.
Troubleshooting common installation issues is also important. Check that the unit is securely placed and all connections are properly made. Ensure there are no obstructions near the intake or exhaust vents. By following these cleaning and maintenance tips, you can ensure that your Hisense Portable Air Conditioner operates smoothly and provides the cooling comfort you desire.
Frequently Asked Questions Of How To Install Hisense Portable Air Conditioner
How Do I Install My Hisense Portable Air Conditioner?
To install your Hisense portable air conditioner, follow these steps: 1. Unbox the unit and remove all packaging materials. 2. Find a suitable location near a window or door for exhaust hose placement. 3. Attach the exhaust hose to the back of the air conditioner and the window/door adapter.
4. Extend the hose and secure it in place. That’s it! Your Hisense portable air conditioner is now installed and ready to use. Enjoy the cool air!
Does Hisense Portable Air Conditioner Need To Be Vented?
Yes, the Hisense portable air conditioner must be vented to effectively cool the room.
How To Install A Portable Air Conditioner?
To install a portable air conditioner, follow these steps: 1. Place the unit near a power outlet and a window. 2. Attach the exhaust hose to the back of the unit. 3. Extend the hose through the window and secure it in place.
4. Plug in the unit and adjust the settings as desired. Remember to read the manufacturer’s instructions for specific details.
How Do I Use My Hisense Portable Air Conditioner?
To use your Hisense portable air conditioner, follow these steps: 1. Place the air conditioner in a suitable location near a power outlet. 2. Connect the power cord to the air conditioner and plug it into the outlet. 3. Use the control panel or remote to turn on the air conditioner and adjust the settings.
4. Set the desired temperature and fan speed for your comfort. 5. Keep windows and doors closed to maximize cooling efficiency. 6. Clean or replace the air filter regularly for optimal performance. 7. When finished, turn off the air conditioner and unplug it from the power outlet.
Conclusion
To wrap up, installing a Hisense portable air conditioner is a simple process that can greatly improve the comfort of your living space. By following the step-by-step instructions provided in this blog post, you can easily set up your air conditioner and enjoy a cool and refreshing environment.
Remember to choose an appropriate location, ensure proper ventilation, and securely attach the exhaust hose to avoid any potential issues. Regular maintenance and cleaning of the air conditioner will also ensure optimal performance and longevity. With its user-friendly features and efficient cooling capabilities, the Hisense portable air conditioner is a reliable option for keeping your space cool during hot summer days.
Stay cool and comfortable with a hassle-free installation process that will bring convenience to your home.


